Maxximum Performance
RX-l 44" LightWeight Front End
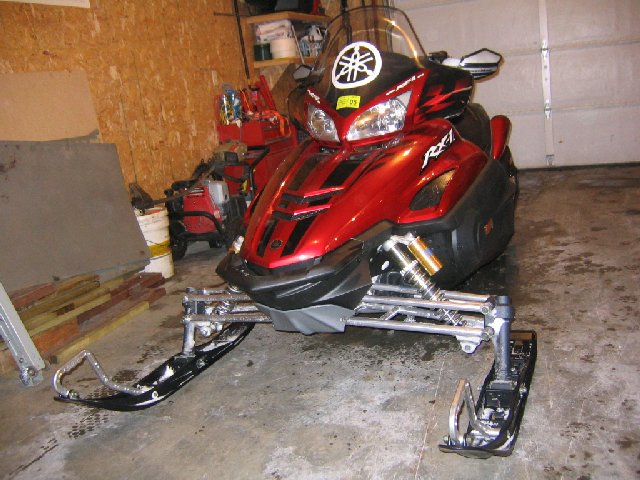
Read Maxximum Performance installation instruction thoroughly. This kit will widen you RX sled by 2 inches overall from stock. Take note of all the parts included in wide front-end kit before removing anything from your sled.
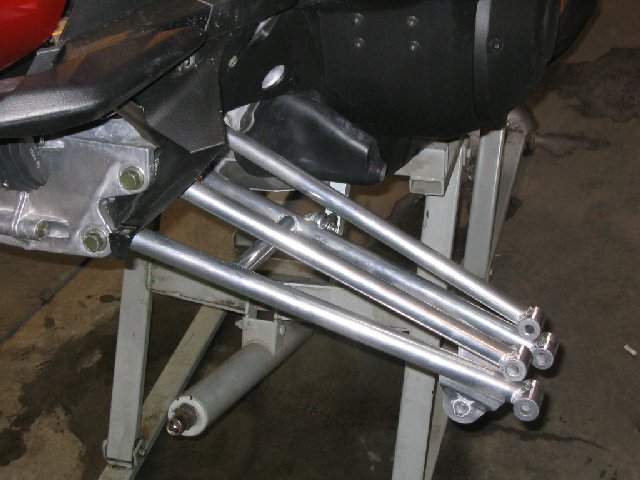
Parts: (2) Upper Arms, (2) Lower Arms, (2) Steering tie rods and on the 05 sled you will need (2) new connecting links from lower arms to sway bar drop link from a 03 RX1.
Note:The 05 connecting links are wider on the bottom arms and will not fit into the bottom arms on the kit.
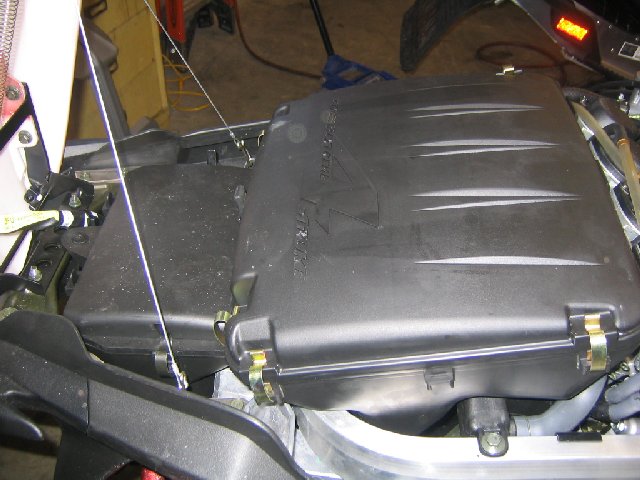
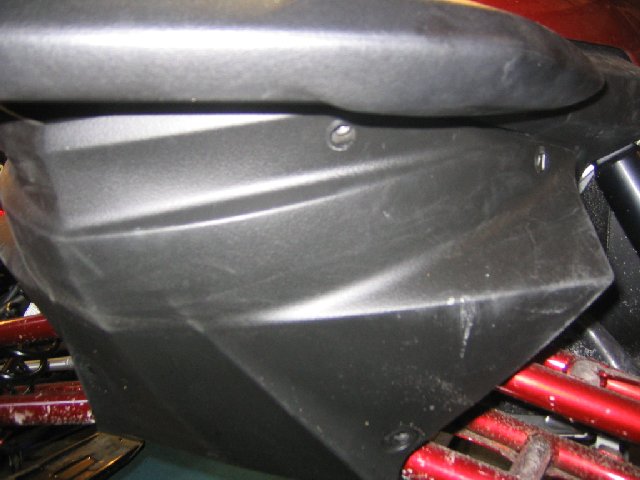
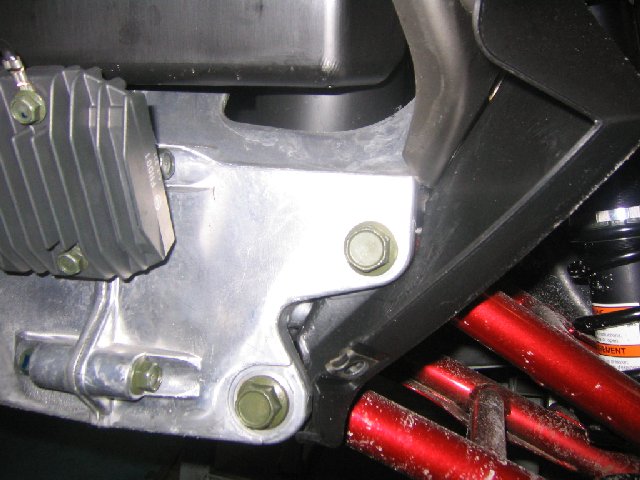
Start by removing air box. Then remove skid plate if you have one installed. Remove nose cone under front bumper with the 6 Phillips head screws. Once air box and nose cone are removed you will expose the bolts that hold the A-Arm on and the inner tie rod ends.
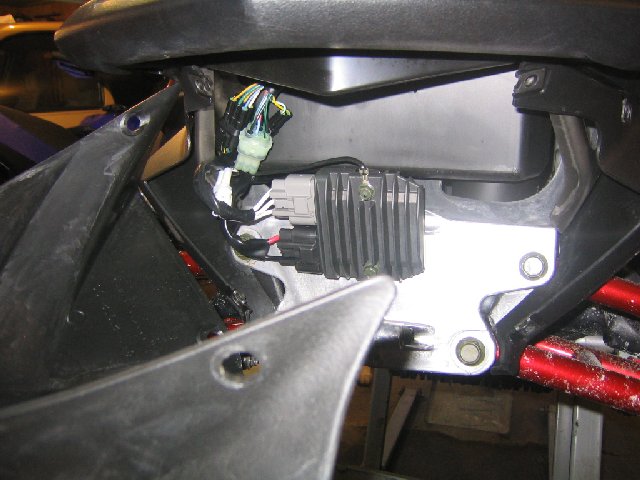
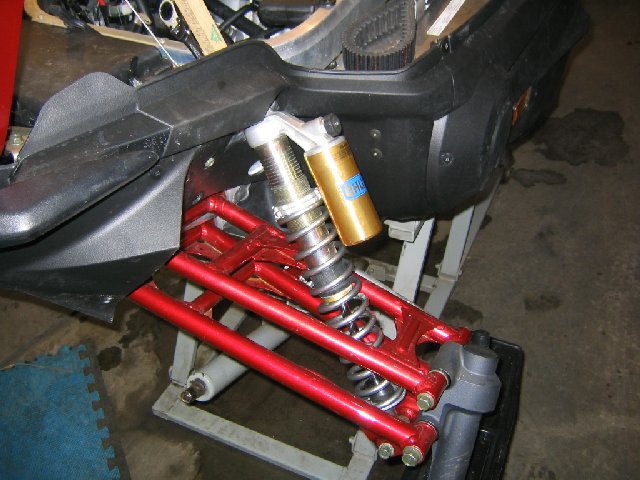
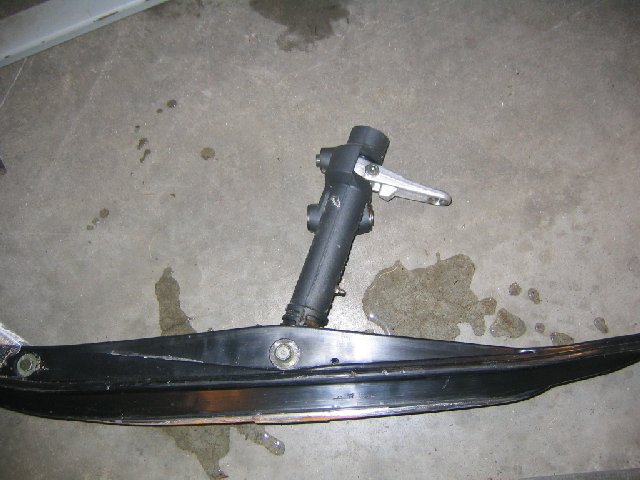
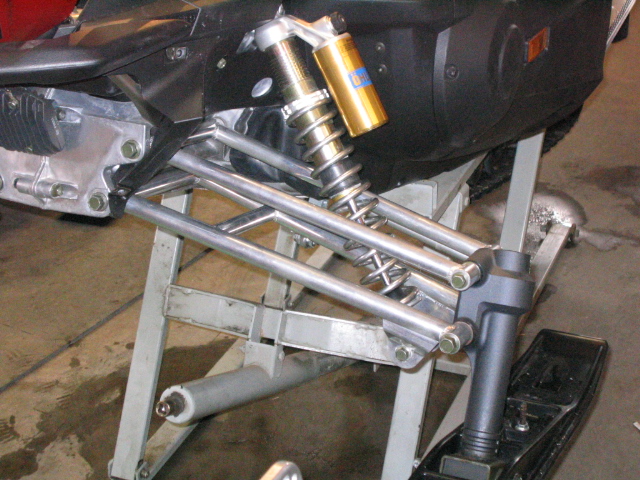
Remove shock bottom eyebolt and then top eyebolt. Disconnect outer tie rod end from ski spindle lever. Remove top and bottom A-arm nut and bolts at the outer ski area. This will let you remove the ski, spindle and steering crank as one assembly.

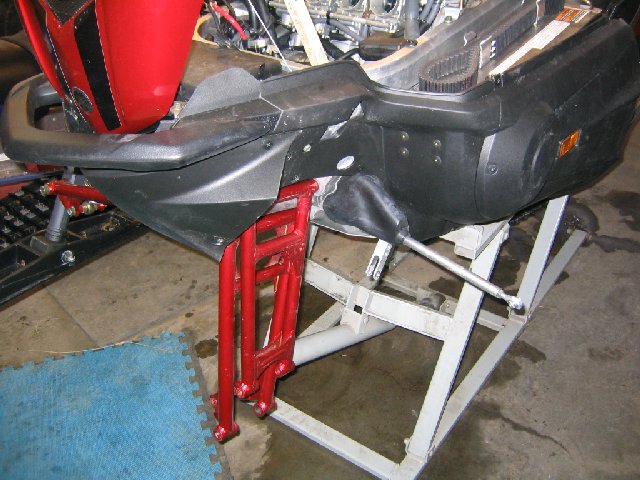
Remove connecting links from the A-arms to torsion bar links. At this time the a-arms should be hanging as shown.
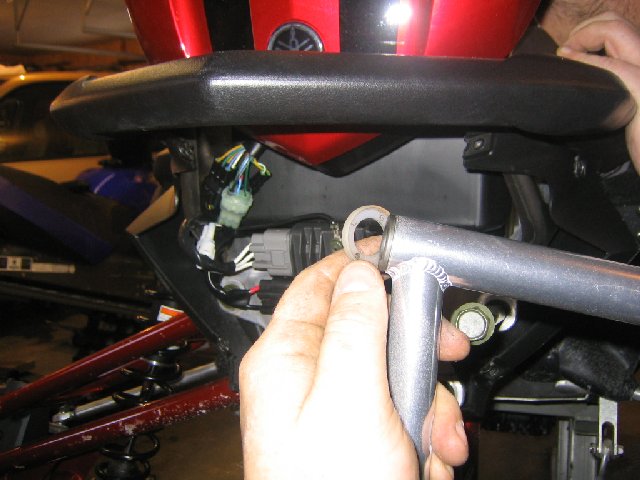
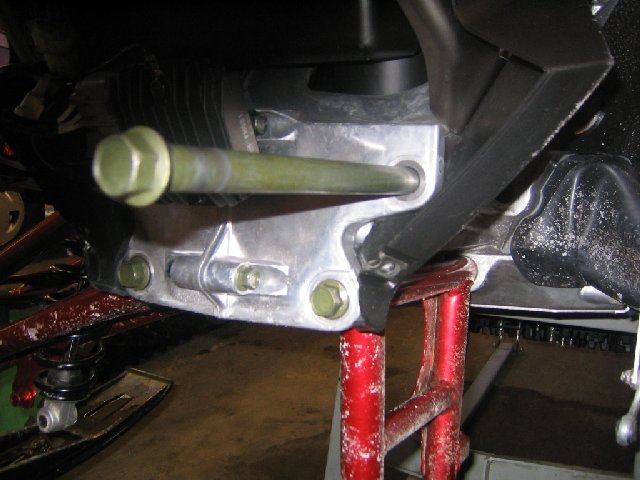
Remove inner upper and lower inner A-arm bolts that hold the A-arms to the bulkhead. Keep track of the end bushing on each a-arm. (2) These will be needed to the new assembly.
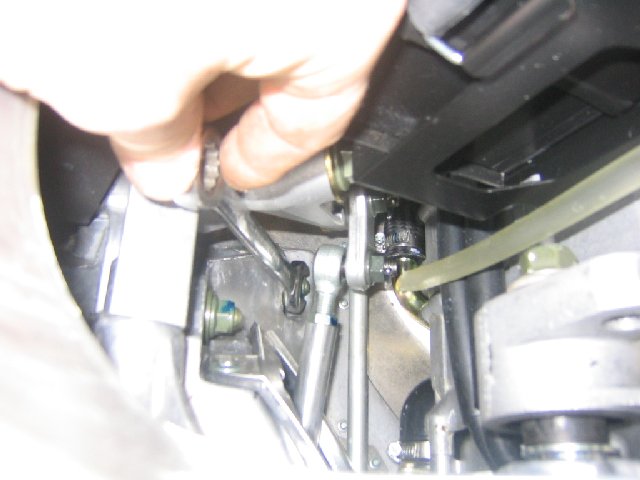
Finally remove the steering tie rods by unthreading them from the inner tie rod ends. Also remove the outer tie rod ends and screw them onto the new tie rods. To help with ski alignment its best to keep the jamb nuts in the locations they are in on the tie rod ends.

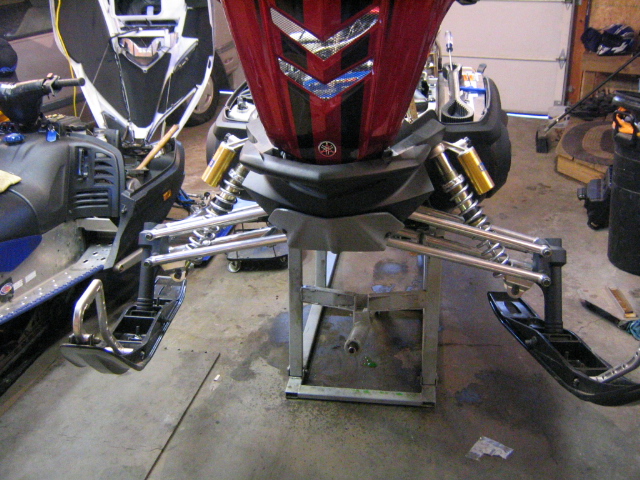
Installing the Maxximum Front end components in reverse order of removal of stock parts is a fairly simple procedure. Be sure to put in all the bushings on the a-arms and the shock eye bushings.
Note: New tie rods, the knurled end with be to the outside.
Be sure all clamps are tight on the air box , all the hoses are correctly installed.
Once all of the new components have been installed its time to check alignment. I will take you through the alignment process that works great for me. Have someone sit on the sled and hold the steering completely straight to your liking and then align one ski with the track by laying a straight edge against the track and have it project out to the tip of the ski. This device will need to be fairly long such as a (6ft level or a drywallers Straight edge). It’s always best to measure from center of ski to straight edge and from center of ski to center of ski. Put a reference mark on the ski to help you measuring to a common spot. Adjust the tie rods to get the ski as straight as possible with that straight edge that’s is running along the straightness of the track. Once that ski is set then adjust the opposite ski with the tie rod ends to try and keep the ski running parallel with each other. 1/8” to ¼” toe-out is standard spec. Once both skis are set lock the jamb nuts on the tie rod ends and your all set to take the sled for a test ride.
Note: Double check jamb nuts on tie rod ends to be sure they are snug.
Totallyamaha is not responsible for any damages that these modifications may cause to your vehicle; any modifications are your responsibility if you choose to do so. We are providing information ONLY. Some of these modifications may VOID your warranty and that is your responsibility to look into. The Totallyamaha users have passed along most of the information found on this site. If you have any questions or concerns about anything on this site talk to your dealer before using any of the information. Totallyamaha will not be liable for any damages or personal injury from any modification performed from this site.
