By Allen Ulmer -Srxspec
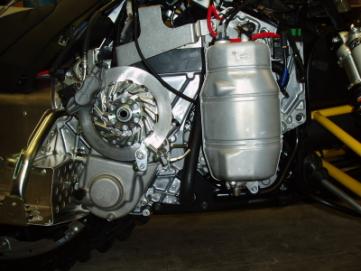
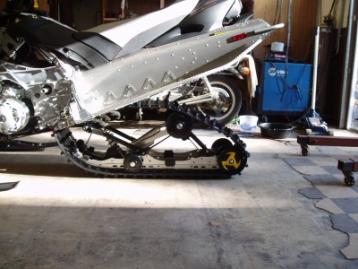
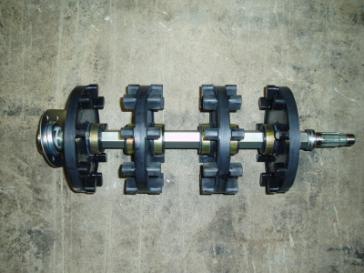
Here are some general photos and Ulmers
136" kit. This is only showing gear and track swap.
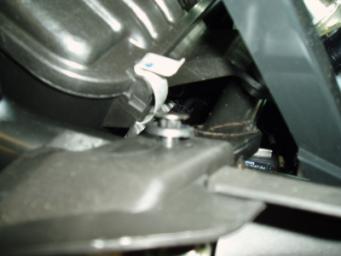
Time to disassemble the chain case!
First removing the plastic panels!
Little tabs hold the plastic into place. I use a small
flat blade screwdriver to pop them up and remove them!

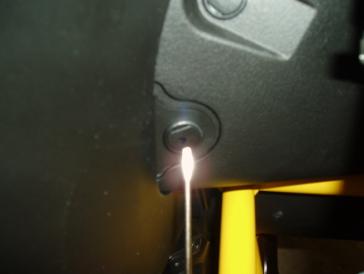
Need a 10mm socket to remove these (on bottom/underside
portion of panel).
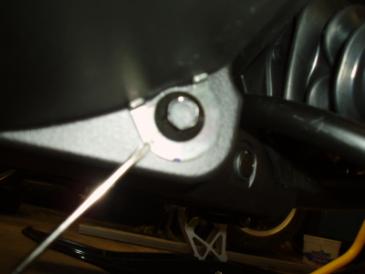
Lower little tab lock under the running board.
More
disassembly pics!
![]()
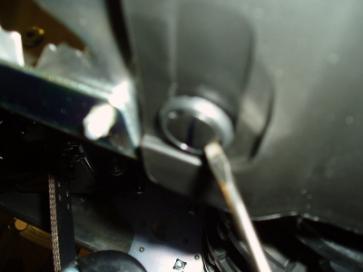
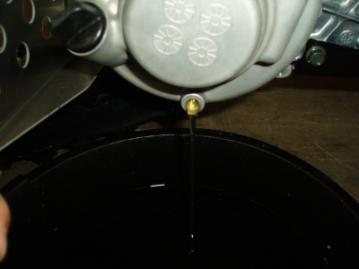
Draining the chaincase oil (use 12mm socket).

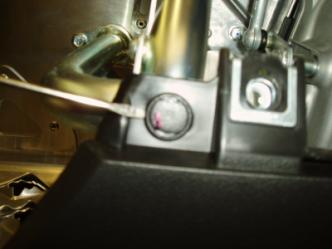
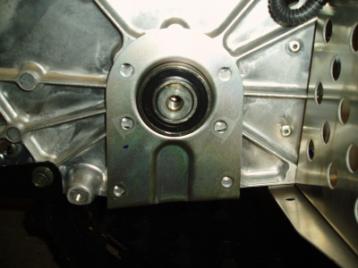
Snap Ring & Washer that must be removed for brake disc
removal.
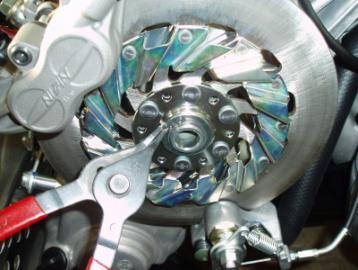
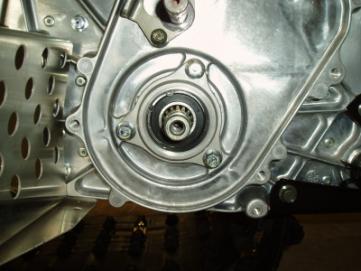
Bolts to remove parking brake (use 4mm Allen wrench).
Parking Brake removed!
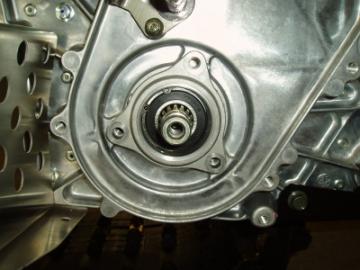
Bolts to remove brake assembly (use 12mm wrench).
Brake assembly removed!
Brake disc removed!
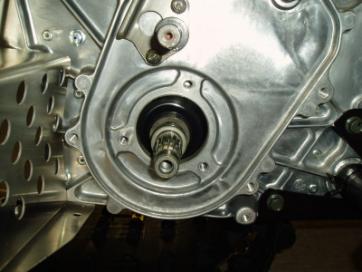
Now we have to remove the spacer behind the brake disc and
also a torx set screw to remove the thicker spacer.
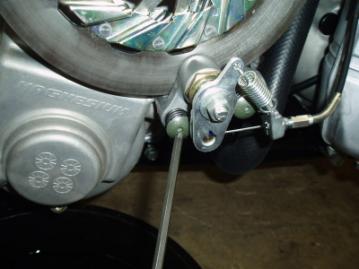
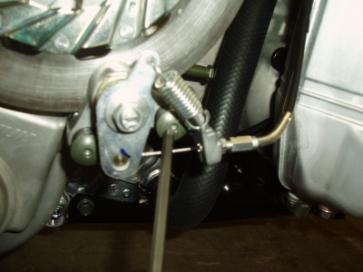
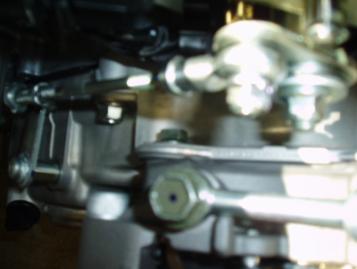
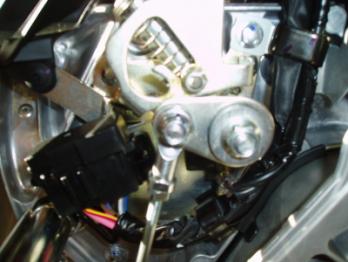
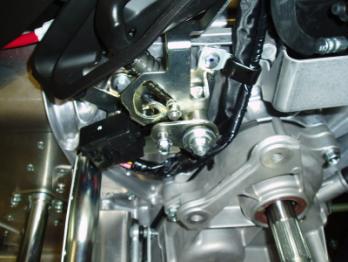
Bolt holding reverse idler pulley (10mm socket).
Bolt holding chain tensioner (10mm socket).
Nut to unhook the reverse linkage (10mm socket).
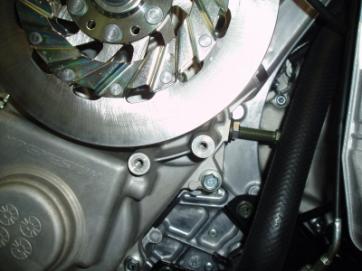
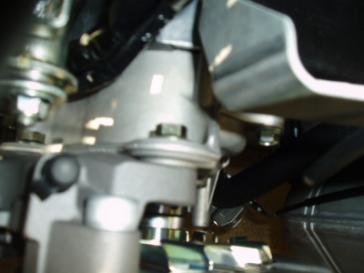
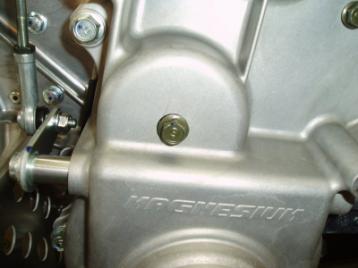
Bolts to remove chaincase cover (12mm socket 5 bolts
total).
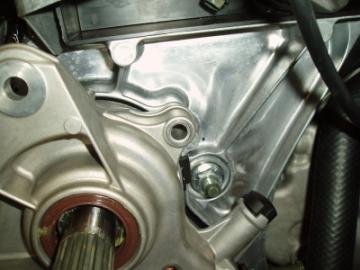


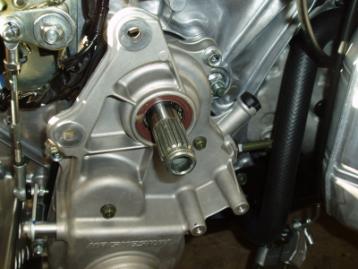
Also behind the collar we removed on the upper shaft is a
small o-ring!
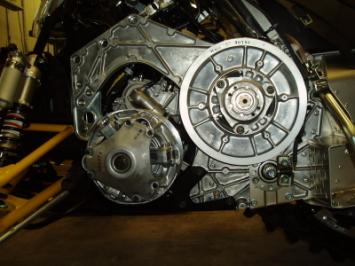
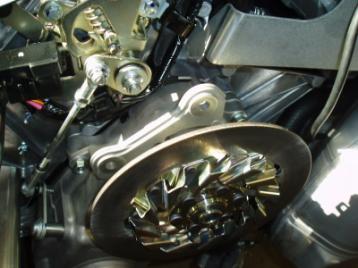
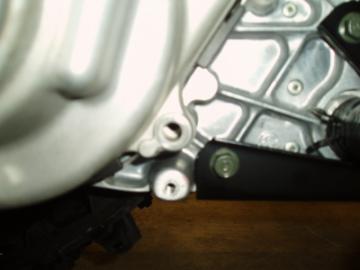
Chaincase cover removed!
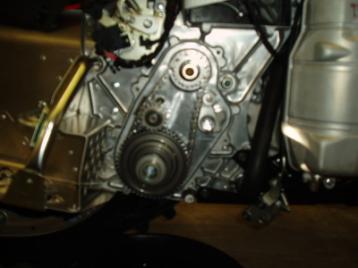
Lower bolt holding lower gear on (14mm socket).

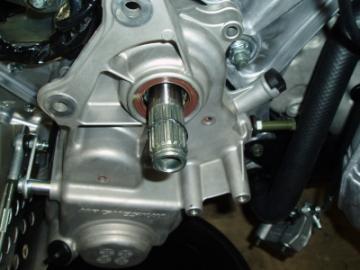
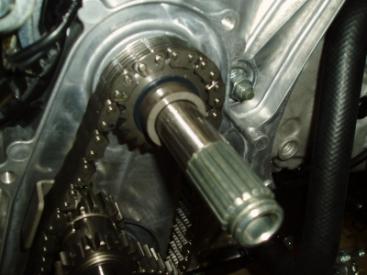
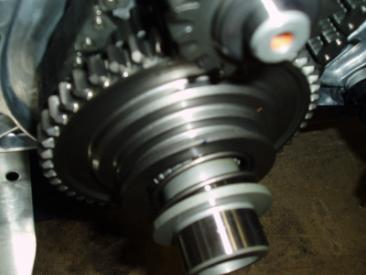
Upper shaft showing spacer & washer against top gear.
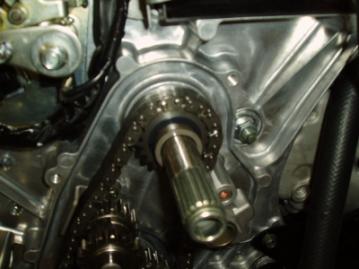
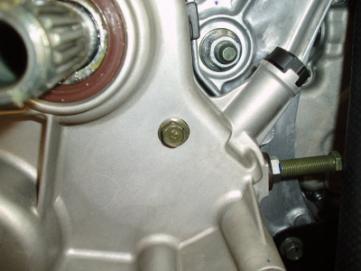
Showing lower spacer that is behind the gear.
Showing upper spacer & washer that is behind the top
gear.
Rear suspension bolts to remove (14mm socket & wrench).
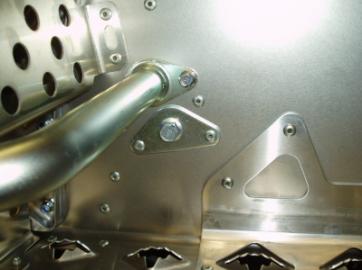
Suspension ready to slide out!
More
pictures!

Bolts to remove on secondary side so we can slide the
drive shaft out! (12mm socket & 14mm socket).

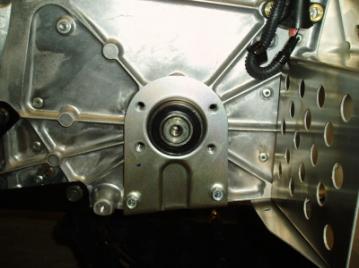
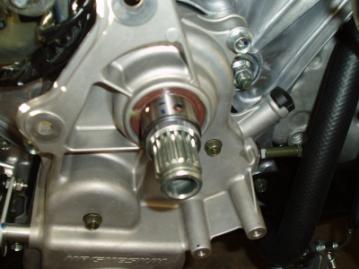
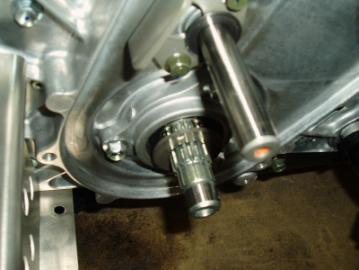
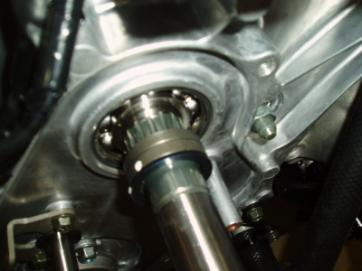
Bearing carrier/assembly to be removed in chain case to
allow the drive shaft to slide out!
A little prying might be needed to get the bearing out
(didn't take much).
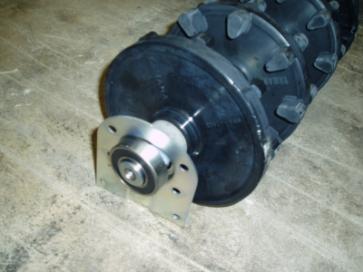
Driveshaft slide out (notice I did not have to remove
secondary side bearing).
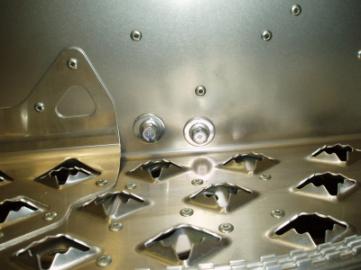
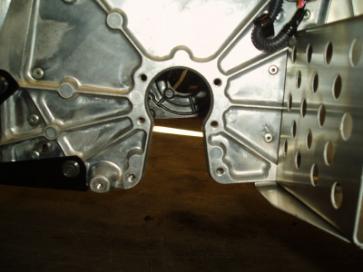
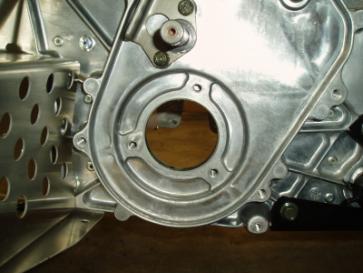
Bulkhead shots after driveshaft has been removed!
Putting
chaincase back together!
I will write out order in which spacers, etc go so no one
gets confused (sorry didn't take a picture of this).
Top shaft: spacer, washer, gear, washer, spacer
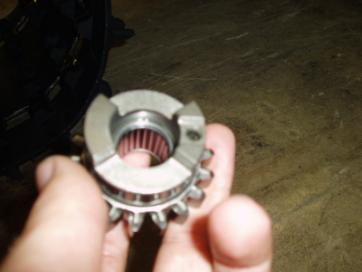
Reverse Idler shaft: washer, inside gear, outside gear,
washer
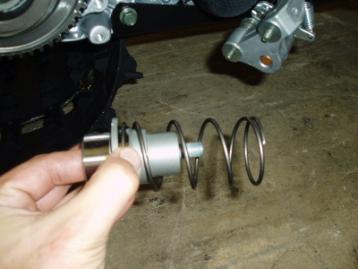
***Make sure spring is in between the inside & outside
gear***

Bottom Shaft: Spacer, gear
This is for reverse models!
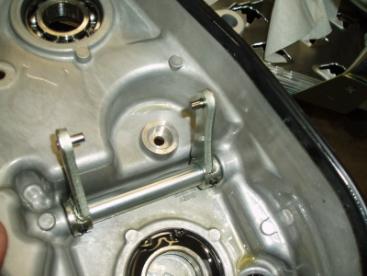
Shift fork inside chaincase cover must go into the slot in
the reverse gear. This is kinda tricky because you can not see if it slides in,
you can only "feel" it slide into correct placement. It should slide
nice and easy when correct!
From there you can reassemble the chaincase and put the
front plastic back on. If you have to put the rear skid back in you will need
to unhook the torsion springs usually to get the rear mounting points to line
up!
You must have the cover tight before trying to use reverse. The lever should be in the "up" position and come down over the top of the slot in the reverse gear.
Totallyamaha is not responsible for any damages that these modifications may cause to your vehicle; any modifications are your responsibility if you choose to do so. We are providing information ONLY. Some of these modifications may VOID your warranty and that is your responsibility to look into. The Totallyamaha users have passed along most of the information found on this site. If you have any questions or concerns about anything on this site talk to your dealer before using any of the information. Totallyamaha will not be liable for any damages or personal injury from any modification performed from this site.
![]()