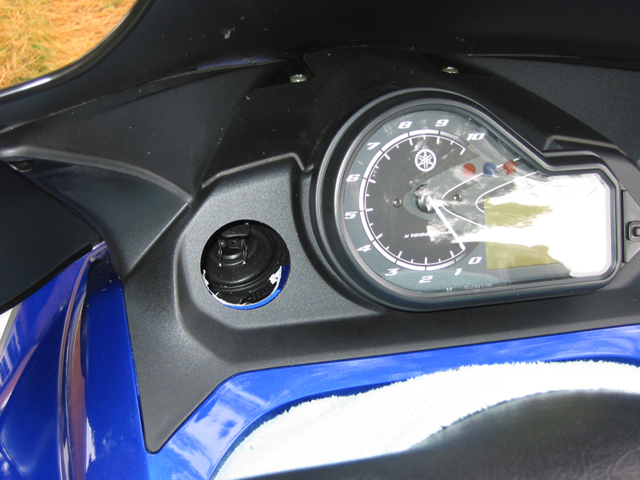
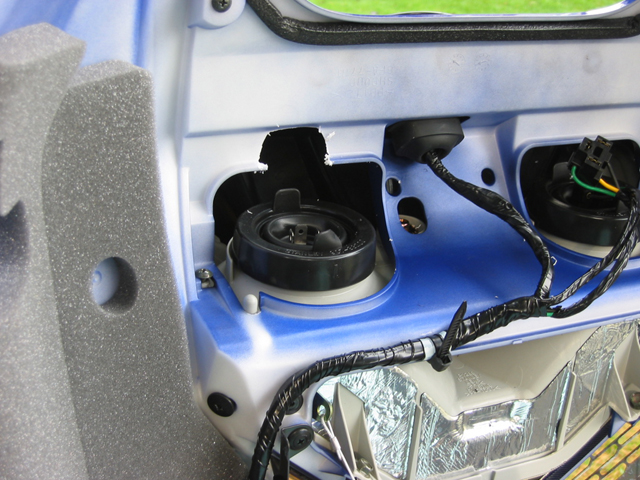
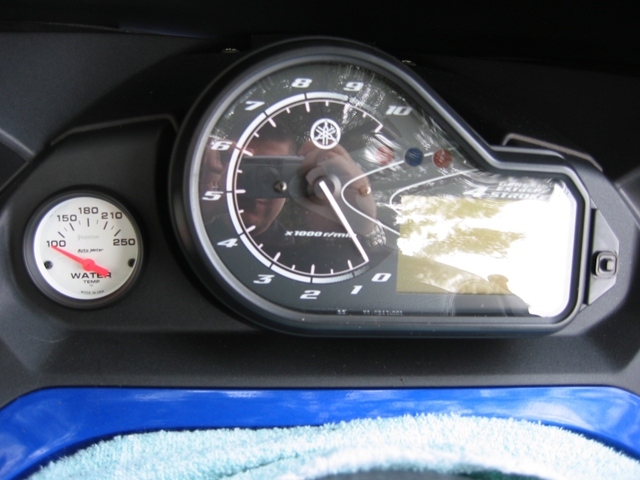
First thing that you are going to want to do is determine where you want to place your gauge. I placed mine to the left of the speedometer because there was a nice flat spot that would make for easy mounting. Wherever you decide to mount your gauge, make sure there is enough clearance behind it for wire etc. Also be sure that there are no water lines, oil lines or wires in the way. If you are mounting your gauge in the dash panel next to the speedometer, unplug the headlight on that side to ensure you don't hit it while drilling. Also, open your hood and place a towel over the motor so that the plastic shavings from drilling the hole don't get all over your engine compartment then close the hood.

Now is where you need to get daring. Once you have your mounting place picked out, take your drill and 2” hole saw center it over the area where you want the gauge and start drilling. Go slowly so that you don’t mess it up. On my sled, once I was through the plastic of the dash, I continued drilling because I had to remove a little of the hood material to allow the gauge to slide all the way in.
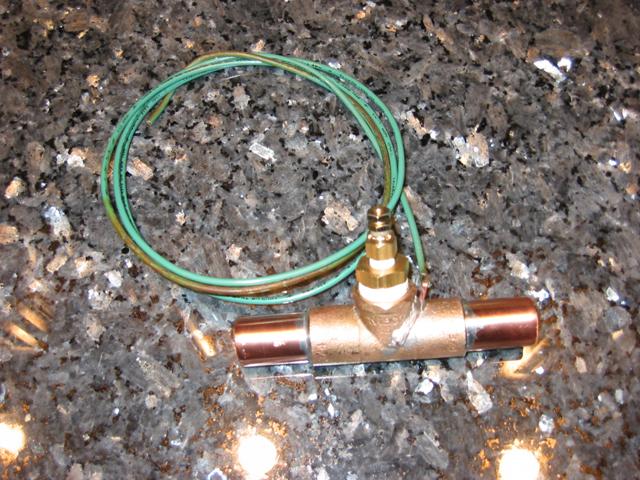
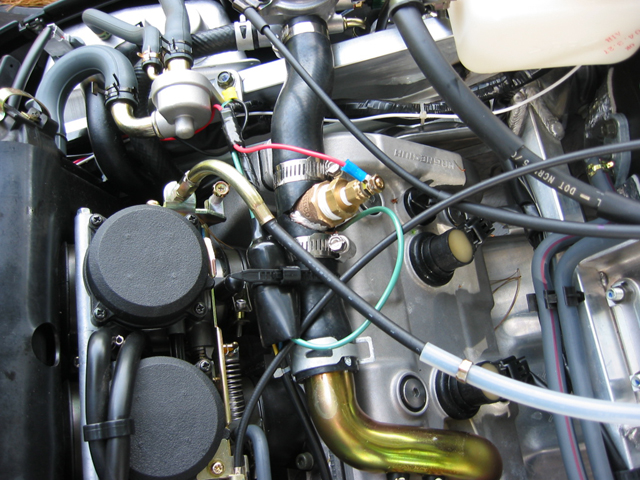
Next you will need to add the Tee in the coolant line for the sending unit. You will need to either solder a wire onto the Tee or find another way to ground the Tee. I just laid a wire on the Tee and soldered it on. I also soldered in 2 pieces of ¾” copper tubing into the ends of the tee. I did not feel safe just putting the coolant line over the ends of the Tee so I added the copper for a little more surface area. This is not necessary as many people have done without it just fine. Also you will want to install the ½” adapter and sending unit supplied with the gauge into the Tee. Be sure to use Teflon tape on the threads so it does not leak.
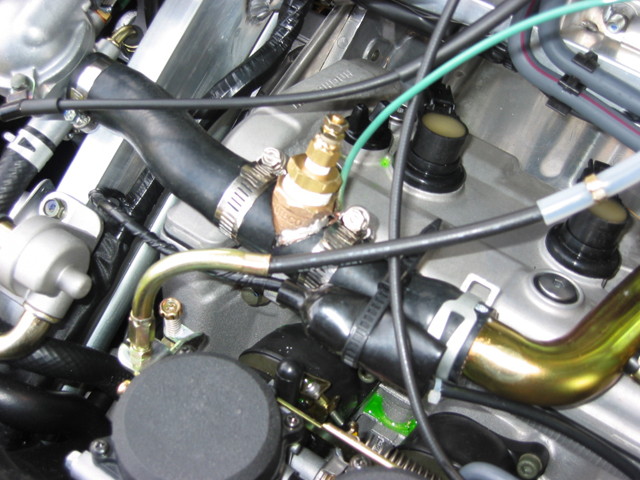
Now you will need to add the Tee into the coolant line of choice. I chose the one that come out of the motor and goes to the thermostat housing because this will give you a more accurate reading as to what the water temp it. This is where it gets a little messy. You can unhook one side of the coolant line and drain it or just place a thick towel under the line you are cutting to catch the antifreeze. I cut a V in the top half of the hose to fit around the ½” tee then cut the bottom straight down. Slide a hose clamp onto each side of the coolant line, then slide you tee into the coolant line. Push the lines as far over the Tee as possible and secure with the hose clamps. Clean up any spilled antifreeze.
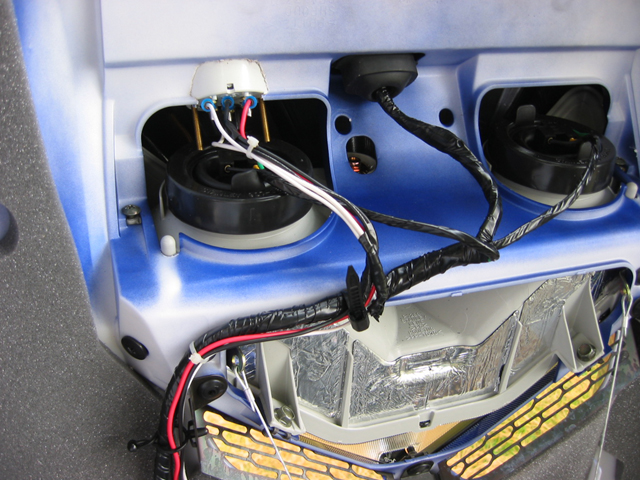
Onto the wiring. I found it easiest to pull the air box and tool kit box when running the wires.
Run a white wire from the gauge post marked I, down the hood and up the frame following the factory wiring harness up to the fuse block on the key switch side of the sled. You can also splice the white wire for the light for the gauge into this wire as I did. Find the blue and white striped wire and splice this wire into it.
Next run a black wire from the gauge post marked GND, down the hood and up the frame following the factory wiring harness to the bolt the goes into the top of the frame rail just below the thermostat housing. You can also splice the black wire for the light for the gauge into this wire.
Finally, run a red wire from the gauge post marked S, down the hood and up the frame following the factory harness and across to the sending unit on the Tee. Connect this wire to the top of the sending unit using an appropriate wire connector.
Now take the grey wire you soldered onto the Tee, run it across the factory wire that runs along the coolant line over to the frame to the same bolt you left the black wire at. Install a loop wire connector over the black and grey wires, remove the bolt with a 10mm socket, install the connector over the bolt and reinstall it.
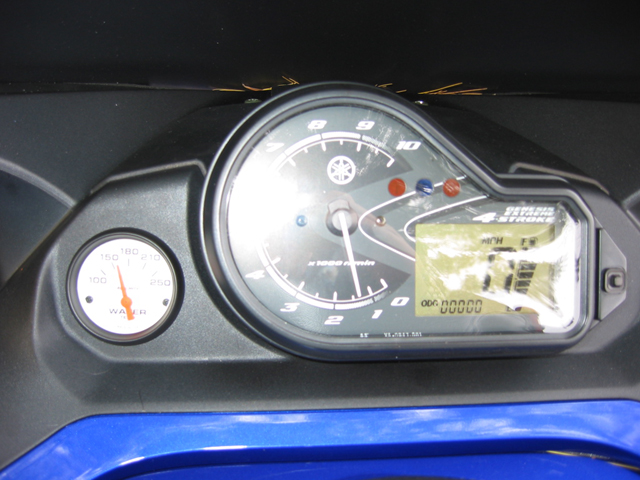
Now go over all the wiring making sure nothing will get caught up in it. I utilized the factory zip ties where ever possible and used my own where needed. Re-install your air box and tool kit box. Fire up the sled and let it warm up. You should see the gauge begin to move after a few minutes. If nothing happens, go over your wiring to make sure it is all correct. Here is what your finished product will look like.
Totallyamaha is not responsible for any damages that these modifications may cause to your vehicle; any modifications are your responsibility if you choose to do so. We are providing information ONLY. Some of these modifications may VOID your warranty and that is your responsibility to look into. The Totallyamaha users have passed along most of the information found on this site. If you have any questions or concerns about anything on this site talk to your dealer before using any of the information. Totallyamaha will not be liable for any damages or personal injury from any modification performed from this site.
![]()