Reworking Aluminum Rear Suspension Shafts
by: garserio
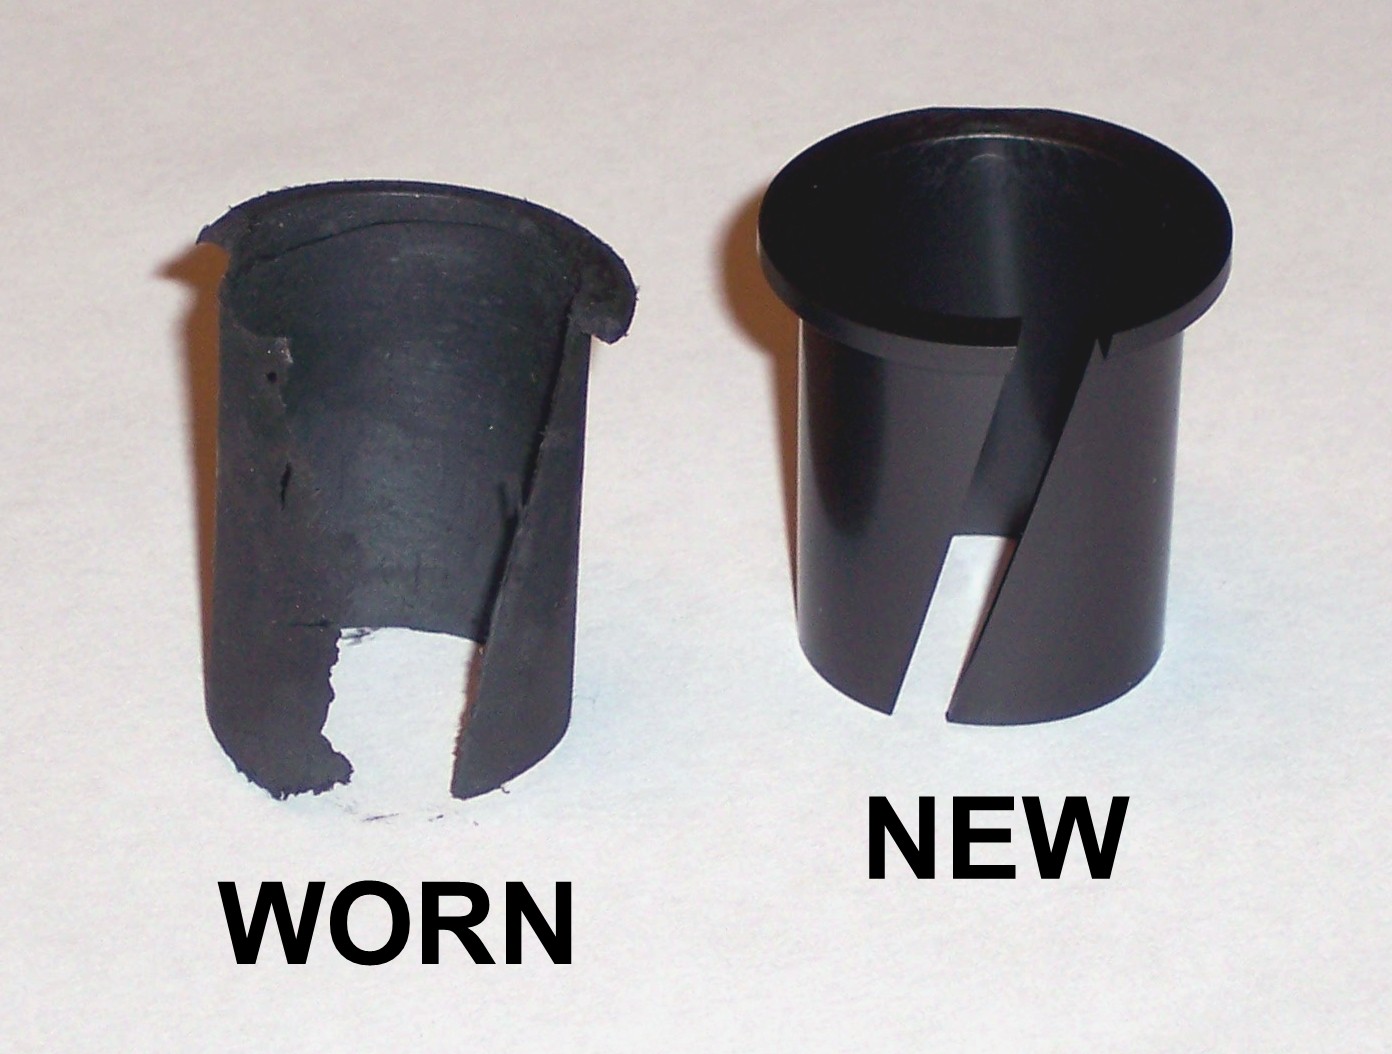
So you let those plastic bushings wear thru to the aluminum... Now What?
Of course you know the importance of going through your rear suspension every 2,000 miles. But, the season is short and you can't waste time wrenching during the precious weekends of a short riding season, right? I, too, let periodic maintenance go by the wayside, especially when the snow is flying and there are trails to be ridden!
To my surprise, the lousy winter we had in 2005 was one my busiest riding seasons. The lack of snow at my typical riding spot of Tug Hill, NY motivated me to extensively travel to other snowy locations like Quebec. All this continuous riding without periodic maintenance took a toll on my 05 Vector's Rear Suspension. Oh yeah, I do religiously grease the skid before every ride...
This fall, I pulled the skid frame out like I supposed to do in the middle of last winter. I was happy to see that Yamaha used aluminum cross shafts to save weight on the Proactive Suspension. The problem with aluminum is that it is soft compared to steel, so when those thin plastic bushings wear out, so does the aluminum!
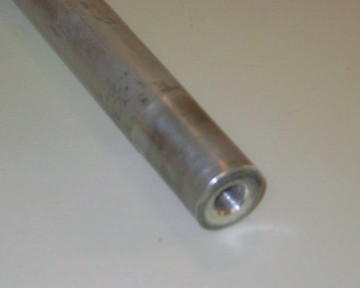
Here is what I found on the Front Arm Cross Shaft: Almost 0.050" of wear!
By the way, the bushing wall is only 0.040", so the shaft wear was more than the bushing thickness.
|
|
|
There are 3 solutions to this problem:
For solution #3, you will need a lathe and some steel stock(or even better stainless steel)
In the case of my 05 Vector, the OEM Shaft OD = 0.856". I turned down the ends by 0.060" to an OD = 0.736" x 1.5" Long. I made two stainless steel collars, OD = 0.870", ID = 0.731", Length=1.6". After press-fitting, I turned down and blended everything to the stock shaft.
Here is a picture of my results:
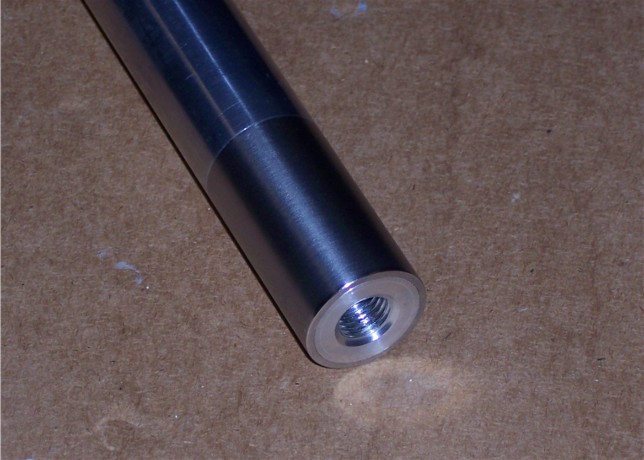
That's it! Hopefully next year I will find the time to pull my skid frame out before the bushings go junk again. At least now there is a tougher surface for the bushings to ride on, so hopefully the shaft will remain undamaged. See ya' on the trails...
Totallyamaha is not responsible for any damages that these modifications may cause to your vehicle; any modifications are your responsibility if you choose to do so. We are providing information ONLY. Some of these modifications may VOID your warranty and that is your responsibility to look into. The Totallyamaha users have passed along most of the information found on this site. If you have any questions or concerns about anything on this site talk to your dealer before using any of the information. Totallyamaha will not be liable for any damages or personal injury from any modification performed from this site.
Please let us know if you have anything to add to this page to help out other Yamaha owners. For addition to this page Email webmaster@totallyamaha.com