
Changing Clutch Components
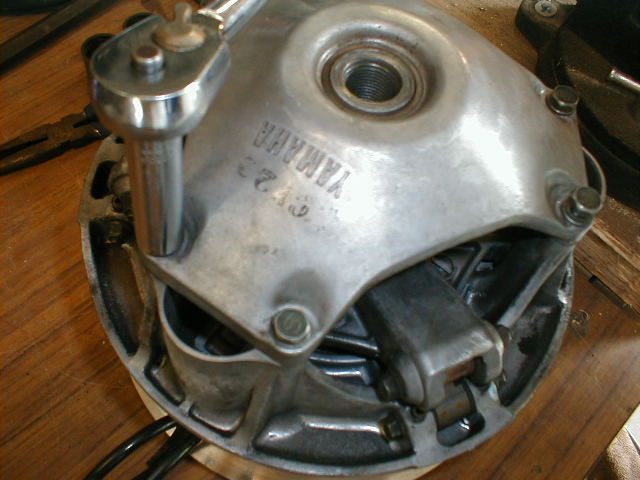
Clutching components are made up of primary weights, rivets, rollers, primary spring, secondary spring and secondary helix. See illustration below.
(Green secondary spring, 14.5mm rollers, 89-L fly weights, Y-G-Y primary spring)
|
To change your primary components, it is easiest to take an impact and remove your primary clutch from your snowmobile. (The shop manual specifically warns against using an impact wrench on the clutch puller. This is for safety sake, but its done all the time by tuners.) You can buy a primary clutch tool and holder from after-market shops to do these procedures on your sled. But it is much easier to do it out of the snowmobile if you are going to change the primary spring. |
If you don't have a puller the primary components can be done on the sled by simply removing the primary clutch cover after match-marking the components using the 10mm bolts, and remove the drive belt. Removing the drive belt allows you to push the sheave towards the motor, giving ample room to access the bolting that holds the weights in place. The only trick is to not lose the nylon washers that sandwich the weight (2 per weight). Be sure to apply pressure to the cover when remove the bolts. The spring will have some outward force and you don't want to have the cover tilted to ruin the cover center bushing. Once the cover is removed use the same procedure to remove the primary weights and/or rollers. |
|
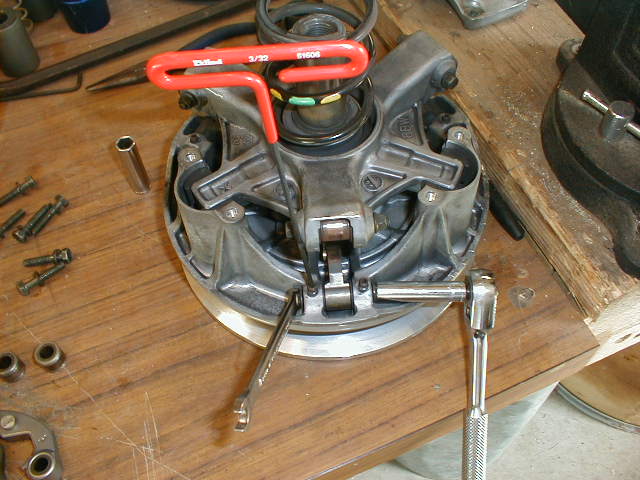
Remove the cover from your primary clutch with the 10mm ratchet pushing slightly down on the cover to preload the primary spring. This will take some stress off the 10mm bolts. |

|
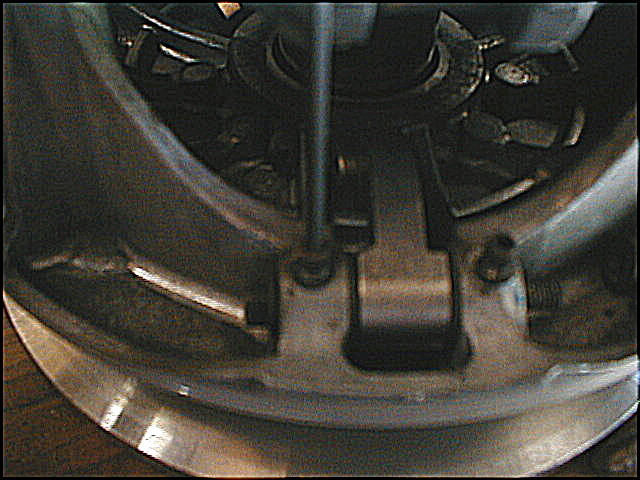
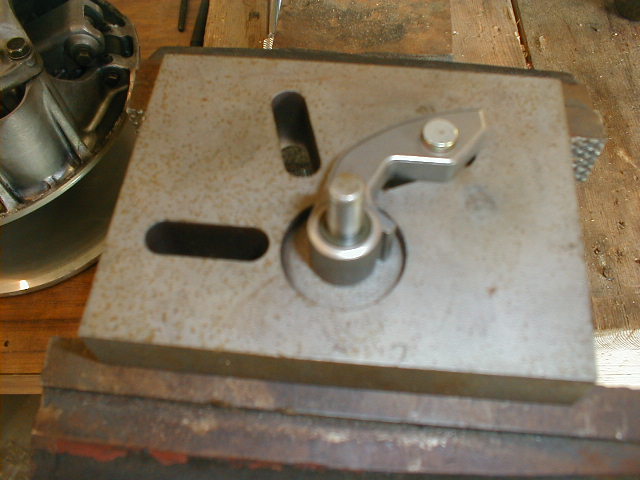
Once the cover is removed you will now be exposed to the primary springs, rollers and fly weights. You will need to use the t-handle Allen wrench to remove the set screws that apply pressure to the fly weight guide pins. Once the set screw is removed, you can use an 8mm ratchet and wrench to remove the bolt and guide pin that hold the fly weights in place. You can now change to whatever fly weights you would like to add. Before putting your fly weights in you should change the rivets to whatever your clutch kit recommends. See illustration below for fly weight rivet removal tool. This tool is good for pounding out old rivets or adding new rivets. Please keep in mind when adding new rivets that they are peened over tight. When putting the primary cover back on, it is very important to line up the stamped x on the inside of the cover with the stamped x on the spider of the primary clutch. This is to assure the clutch is in proper balance with the cover. Make sure to keep track of the spacer washers on each side of the fly weights and rollers. |
|
To change the rollers, it is done in the same way as changing the fly weights except you do not have a set screw that locks the roller pin in place. |

|
To change the secondary spring and helix it is easiest to do this on the snowmobile. Lock the parking break, take a 12mm ratchet and remove the 3 nuts on the end of the helix posts but push in slightly on helix evenly to preload secondary spring. Once the helix is removed, there are 3 holes on the sheave that the secondary spring goes into. Those holes, in combination with the helix holes, when using Yamaha springs, will give you the degree of twist. For example, sheave hole #2 and helix hole #6, 6+2=8x10=80 degrees using Yamaha std springs. This will change with the use of other then Yamaha springs due to the spring ends starting at different places. When you put the new helix and spring back in, once you have found your degree of twist, you will have to slightly twist the helix so the ramps line up with the buttons and the holes line up with the studs on the sheave. Stiffer secondary springs will require more twist force to line up properly. Secondary clutch center main bolt will not have to be removed to do this procedure. | |
| As for the question, what do
secondary components do? Adjusting the spring tension to a higher #
increases the preload which slows down the shift and helps backshift faster.
Setting the tension to a lower # can make the clutch up-shift faster and
back shift slower. helix angles also effect the rate of shift, higher
starting angles up shift faster and back shift slower. less spring tension
and higher angle # s also lower engine rpms. (shifting faster tends to lug
the engine rpm down.) This is all in a perfect world, with everything
working efficient. Too high of angles can cause belt slippage due to
shifting so fast the secondary opens so fast it cant hold on to the belt.
spring twist angle has little effect on this and should be fixed with higher
side pressures. (springs w/ higher compression rates or longer free lengths
) or using less helix angle and weights with more profile and or more
weight. Keep in mind efficiency is what makes it work, clutches should run
just warm to the touch .This is what produces good acceleration good back
shifting and top speed, this also can increase fuel mileage. There are
exceptions to the rules such as in drag racing where back shifting is not
important and acceleration is the only concern. Here belt temps are low due
to the short runs.
Any questions feel free to email the Webmaster. |
Totallyamaha is not responsible for any damages that these modifications may cause to your vehicle; any modifications are your responsibility if you choose to do so. We are providing information ONLY. Some of these modifications may VOID your warranty and that is your responsibility to look into. The Totallyamaha users have passed along most of the information found on this site. If you have any questions or concerns about anything on this site talk to your dealer before using any of the information. Totallyamaha will not be liable for any damages or personal injury from any modification performed from this site.
![]()