Removing the Chain Case and Track
By MrSled
To Remove Skid <Click here>:
More info in chain case removal<Click here>:
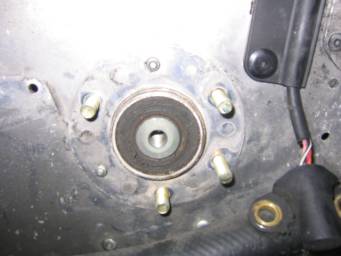
Now that I had the rear skid out you will now want to remove the left side speedo pick up, speedo gear, and bearing cup retainer.

Move over to the right side of the machine. Remove the Parking brake by loosening the 2 Allen head screws. You may need to flip the brake off and on to get the fastener loose enough to remove it from the chain case cover.
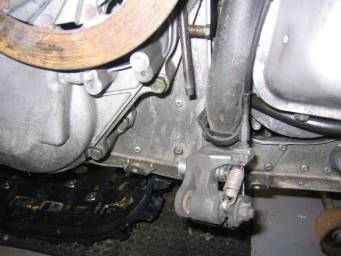
Remove the brake disk E-Clip with snap wring pliers and pay close attention to each washer and spacer location as you take thing out of the chain case and off the drive shaft. If you loose track of the locations, you can always go to the Yamaha Parts Finder on line to see the correct orientation and location.
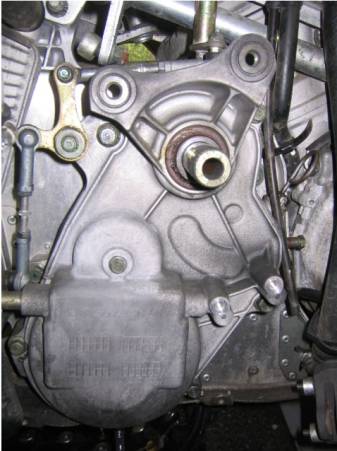
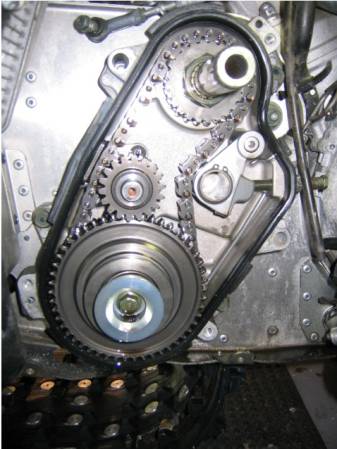
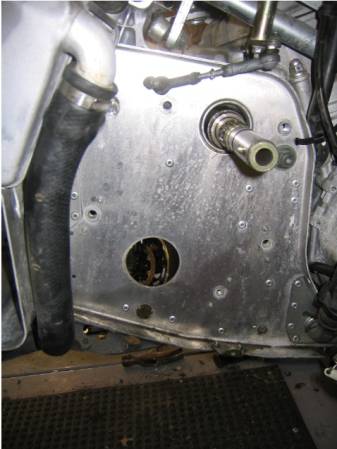
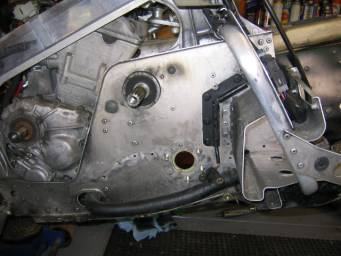
Before you pull the cover you will have to remove the drive shaft locking collar. You will need a star socket to remove the set screw from that collar. If you have reverse you will need to remove the lower linkage bar from one side in order to manually move the linkage in the cover or the linkage reverse forks inside the cover will prevent you from removing the cover. Remove 12mm cover bolts and the 10 mm bolt in the center of the cover. It may take a little bit of messing around to finesse that cover off. In order to remove the drive shaft upper nut you will need to hold the shaft from turning. I found that if you wrap a rag around the secondary shaft and lock a Vise-Grips on the splines (be careful not to go to tight), let the shaft rotate until the Vise-grips contact the foot hold, then you can put on a deep socket or big crescent wrench and release the upper nut. Its usually not very tight. Break loose the 14mm bolt on the bottom drive gear before you remove the Vise Grip and remove lower cup on drive gear and spring. Remove chain tensioner, remover secondary middle gear and be careful not ot loose the little spring between those gears. Then slide out upper, lower gear and chain at the same time. Once again place close attention to the spacers and washers. Now that you have the internal of the chain case out you can remove the inner case by removing the 14 mm bolts that hold the case to the chassis. Go back the left side of the sled by the speedo and reach under the sled and pull the drive cog shaft toward you. You should see the 2 star type set screw that lock the collar bearing to the shaft. Remove set screws to allow you to either pull bear off or you may have to use a 3 jaw puller to assist you if it feels stuck. With the bearing off you can now push the axel back to the chain case and the axel will drop out. It may get hung up on the track so don’t panic.
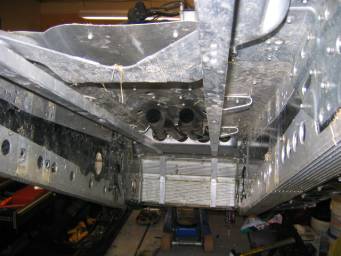
You now have a clean tunnel with no track connected.
Totallyamaha is not responsible for any damages that these
modifications may cause to your vehicle; any modifications are your
responsibility if you choose to do so. We are providing information ONLY. Some
of these modifications may VOID your warranty and that is your responsibility
to look into. The Totallyamaha users have passed along most of the information
found on this site. If you have any questions or concerns about anything on
this site talk to your dealer before using any of the information. Totallyamaha
will not be liable for any damages or personal injury from any modification
performed from this site.
![]()